
How to Transform Empty Boxes into a Playhouse in 5 Easy Steps
 January 5, 2015
  0 Comments
Follow Us On Facebook:
Categories
Two years ago, my sister-in-law asked if I wanted her to save the Barbie playhouse for my children. We were inundated with toys at the time and had no foresight to imagine the need of such a large toy we'd just have to store for two years. Besides, how expensive could a Barbie house be? After all, it is just made of plastic! I said, “No, thanks,” and went on my merry way.
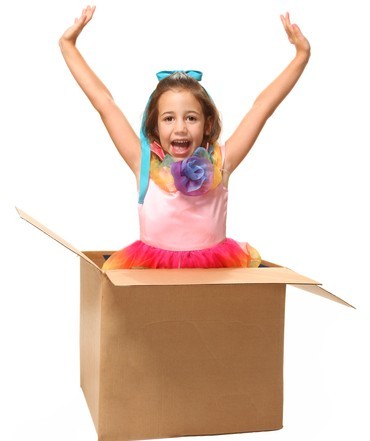
Well, my oldest is five now, and what she wanted more than anything else for Christmas this year, was a three-story, elevator-toting Barbie playhouse just like the one her cousin had. I wish that I was capable of creating a time machine to go back to 2012 and say, “YES, PLEASE!” to my sister-in-law. But since I'm not that cool and since we are in job transition and about to move, we did not have the funds to buy such a dollhouse for my sweet daughter. What we do have are a whole bunch of empty boxes and packing tape. What we also have are imaginative minds and a lot of extra time! So, that's where we came up with the idea of creating our own playhouse without having to spend any do-re-mi!
THE SUPPLIES:
3-4 cardboard boxes (depending how many stories you want)
packing or duct tape
box cutter or sharp knife
paint and brushes, stickers, etc. for decorating
THE INSTRUCTIONS:
1. Tape the bottom of the boxes closed and cut the top flaps off.
2. Turn the boxes on their sides and tape the heck out of them so they stay together. (We had a three-story home using three boxes.)
3. To make a roof and attic, cut the last box in half so you are left with a triangle. Place the triangle on top of the the top story of the home and tape that sucker tight!
4. Cut out windows and the front door. We used the simple “I” cut, where you basically cut a large capital “I” where you want your window or double door. Then you fold the flaps of the “I” back and forth a couple times to loosen them so they'll stay open. Or tape them open like shutters if your child doesn't want to close them. (Or you could just cut out rectangles for the windows and door.)
5. DECORATE! Paint it. Cover it in stickers. Whatever inspires your little artist. After the paint's dry, enjoy!
It is no Mattel® dream extravaganza, but it was a lot of fun to make. Like most toys, my girls tired of playing in it after not too long, but that's okay. My little artist got to explore her inner Jackson Pollack as she plastered this thing with color, and I've caught her trying to take naps in it on the odd occasion. Later, we can re-purpose it as something else – a veterinary clinic or a space ship, or wherever else our imagination can inspire us. Just have fun!


No comments yet... Be the first to leave a reply!